Overview
The easiest method for most users is to install directly from your WordPress dashboard.
📝 Step-by-Step Guide
Step 1: Download the Theme
-
Go to your Envato account
-
Navigate to Downloads
-
Find PestAnnihilate
-
Click Download → Installable WordPress File
-
Save
pestannihilate.zipto your computer
Step 2: Access WordPress Admin
-
Log into your WordPress site
-
Go to
yoursite.com/wp-admin -
Enter your username and password
Step 3: Upload the Theme
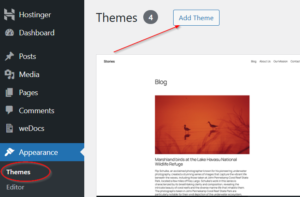
Dashboard → Appearance → Themes → Add New → Upload Theme
-
Click Add New at the top of the page
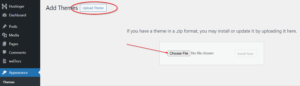
-
Click Upload Theme button
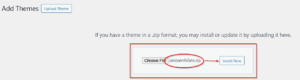
-
Click Choose File and select
pestannihilate.zip -
Click Install Now
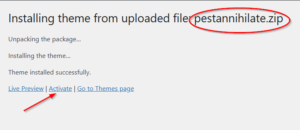
Step 4: Activate the Theme
-
Wait for installation to complete (progress bar)
-
Click Activate link when it appears
-
You’ll see “Theme activated” success message
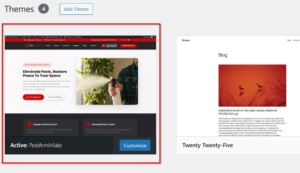
Step 5: Verify Installation
-
Go to Appearance → Themes
-
Confirm PestAnnihilate is active (highlighted)
-
Visit your site to see the default layout
⚠️ Common Issues & Solutions
| Issue | Solution |
|---|---|
| “The package could not be installed” | File too large – increase upload limit |
| “Destination folder already exists” | Delete old theme folder via FTP |
| “Broken theme after activation” | Check PHP version (needs 7.4+) |
| White screen after activation | Enable WP_DEBUG to see errors |